Gemstones attract people with their beauty and elegance. Many enjoy wearing them as jewelry, decorating their homes with them, incorporating them into various household goods, or simply keeping them in a display case to admire them.
But you can also do something much more fascinating create and refine jewels and admire their lovely geometry and bright look. Natural science and jewelry-related interests connect to the processing of gemstones because everyone who enjoys carving gems qualifies as a true jeweler.
However, it is a hard task that necessitates careful attention to detail. To begin cutting gemstonebeads, you only need the required tools and information; you don't need a lot of experience or prior knowledge.
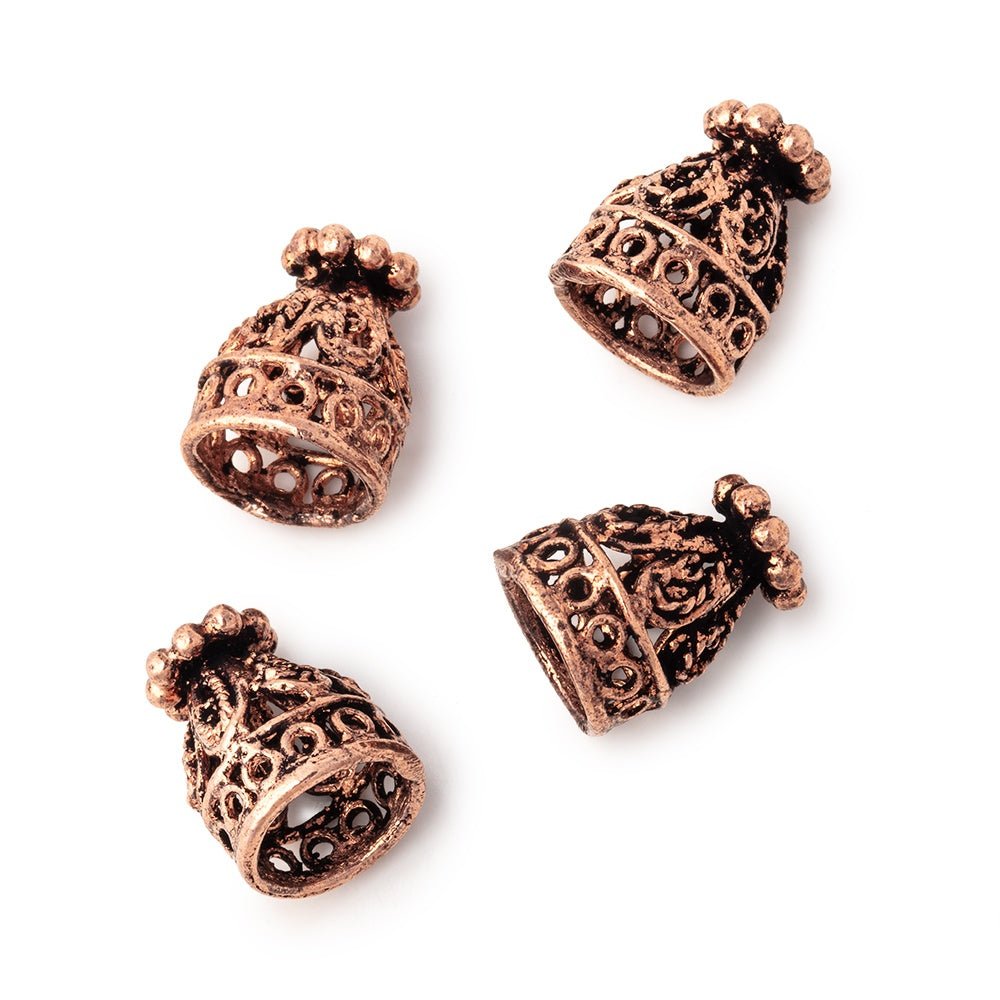
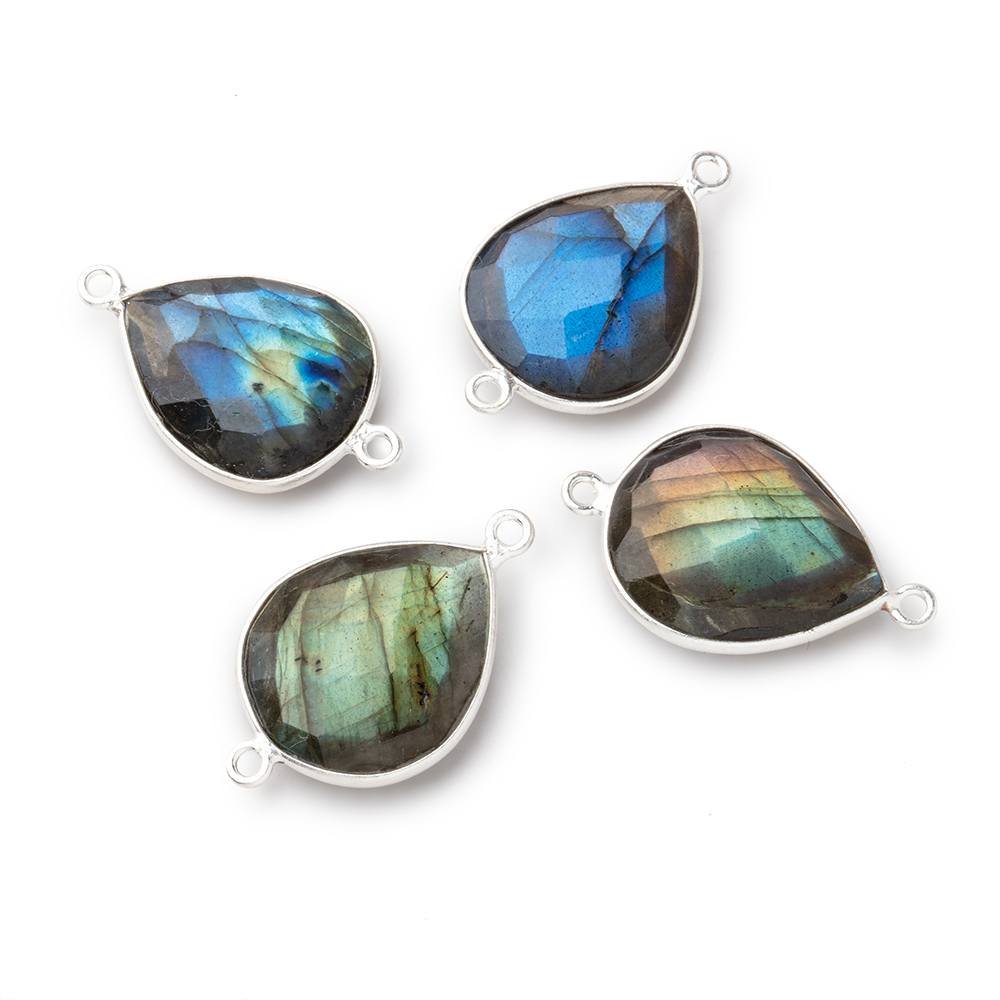
If you're looking for inspiration for your next beading project, our top collection of gemstone beads is a great place to start.
Cutting Gemstones - Faceting The Magical Process
Since ancient times, man has fashioned gemstones to enhance the natural beauty and charisma of the world's bounty. Look at the gem-cutting process and what makes a well-cut stone glow.
The Rough
Crystals can take on a variety of shapes and forms. Some gem minerals are still in the natural crystalline state in which they naturally develop, while others may have undergone the mining process that changes their forms or twists the forming rock itself.
The rough form determines the final shape of the finished item. A uniform size, like an 8 x 6 oval, is the main factor to consider for gemstones cut into standard sizes. Top-grade stones undergo the cutting process solely to retain weight, without regard for beauty or symmetry. Faceting is the technique of transforming fine raw material into a brilliant finished gemstone.
Examining
The process begins with the examination of the gemstones. Understanding the shape of the raw gemstone you are working with is the first thing you need to do.
Gemstones can have a wide range of forms. The final piece's appearance will depend on the shape of the raw gem. Minimizing the amount of material lost by creating a cut that takes the form of the original stone. You must maintain as much of the actual gemstone's weight while still creating precise proportions.
The resultant shape won't likely be superior if you strictly cut to maintain weight without considering crucial factors like symmetry and elegance. Additionally, poor cutting might lead to the destruction of really good raw gemstone pieces.
Planning the Cut
You must consider how you will orient the cut once you have thoroughly evaluated the shape of the raw crystal and its inclusions. Choose a location for the table and pavilion.
The amount of defects is one aspect of this stage to which you should pay attention; you must eliminate any unfavorable inclusions.
Additionally, you should look for color banding and zoning because they may impact the placement of the table and the final stone's appearance.
Then, you will start cleaning the stone up after thoroughly inspecting it. If slicing is necessary, a specialized machine will handle it.
Preshaping & Dopping
Then, you will use a grinding machine to manually pre-form it before deciding on the cut's shape. Water facilitates a finer cut while speeding up the grinding process. The sculpting of the gemstone begins with this.
The piece of rough is fastened to a distinctive metal rod known as a dop. A special dopping wax helps with it. Next, a handheld faceter is attached to the dopped rod.
Faceting
Simply put, faceting is the process of forming several tiny faces on the table and pavilion of the raw gemstone. Faceting can appear rather simple on the surface, yet it is one of the most difficult gem-cutting techniques to master.
Start by switching the grinding wheel for a faceting lap. A finer grinder covered in fine diamond dust will serve as the faceting lap.
Then, the machine grinding lap is removed, and a faceting lap takes its place.
Furthermore, you can use a considerably finer lap primed with ultra-fine diamond powder. You can now place the facets on the stone using accurate angles. It requires amazing timing and talent.
Furthermore, cutting the crown and pavilion form a lens and reflector. The two most significant features of a gemstone are the pavilion and crown. They are made to capture light, reflect it inside the stone, and then bounce it back into the eye.
The crown's facets catch light from all sides and distribute it toward the pavilion. The crown then transfers the light to the eye after reflecting it off the stone surfaces of the pavilion.
But not all gemstones are cut at the same angle. Therefore, you need to be aware of the variations in requirements across different minerals. It is because other diamonds have various critical angles.
To clarify, the angles chosen for each facet indicate the outcome reached because they impact the brilliance and reflection a gemstone may produce. It is crucial to change the angles for each facet to maximize its optical performance.
Each gem has a unique refractive index (RI), and the angles change depending on the RI of the gem material. The critical angle is the smallest angle at which a polished facet may reflect light into a gem after it has passed through.How you shape a facet's angle depends on the gemstone's essential angle. A gemstone's brightness ultimately depends on how much light it can reflect from each angle.
If you have cut a gemstone's pavilion too deeply or too shallowly, a light beam will miss a facet and leave the stone when it strikes it at an unfavorable angle. It is known as unplanned light leakage.
Polishing
The final step is to polish each facet to achieve shine and brilliance using a finer faceting lap. A well-cut stone will brilliantly reflect the light, creating a consistent, all-over shimmer and glitter appearance.
Each facet will have a uniform smoothness and be free of blemishes and scratches after perfect polishing. Then, the removal of dirt and residue begins, and this stunning new gem will be ready for public display.
Jewelry made from colored gemstones and diamonds goes through the same procedure, which doesn't necessarily begin with a rough. A lapidary may recut a gemstone to restyle and refashion it. The art of cutting gems is another incredible ability.
Things to Remember When Working With Gemstones
Over time, the vibrations from the machinery can cause damage to your hands or perhaps your entire body. These devices reduce blood flow to the hands and feet, leading to arthritis and painful hands.
Exercise your hands and legs before and after cutting to improve your performance, especially if you plan to labor for an extended amount of time. The hand exercises will prevent the hands from becoming stiff from tightly grasping the stone. When the day is over, wash your hands carefully with soap to remove any remaining chemicals.
How to Cut Gemstones by Hand: Using Sandpaper
Learn how to clean stones more effectively by going low-tech. Sandpaper is an effective approach to experimenting with how you want your gems to look, even if it's not as accurate and technical as other methods. Even if it takes a while, it's doable and simpler than you might think to get a high shine with sandpaper. You only need to understand how to carry out the entire procedure.
So without further ado, let's talk about polishing rocks with sandpaper.
Equipment
Chopping board
Wet and dry sandpaper in four grits
Tea towel
Tap water
Method
Place the chopping board with the rough side of the 180 grit sandpaper down. Ensure you work on a firm surface to avoid moving the chopping board. You might place a tea towel on the floor beneath the board for further stability.
Squirt a little water onto the sandpaper's center.
Use sandpaper and water to produce a smooth facet on the stone by rubbing it all over.
Repetition of step three will result in several facets and a rough gemstone shape.
After finishing both sides, switch to the 400 grade and continue the previous processes, making sure to re-wet the paper and the stone between each stage to prevent the grits from getting contaminated.
Using 600- and 1200-grit paper, repeat the process.
Top tip
To ensure a smooth surface, rub it in circular motions instead of rubbing it back and forth.
How to Cut Gemstones by Hand: With a Tool
A Dremel hand tool can be the best option for people who wish to expand their businesses' gemstone work but don't want to spend money on a faceting machine.
A Dremel is a multipurpose rotary tool in the home and workplace for tasks other than cutting. In order to cut, sand, buff, and polish gemstones, there are a variety of accessories and burrs available.
Therefore, carving gemstones is simple with a Dremel engraving tool. However, practice on a less expensive substitute before using your expensive gemstones to perfect your technique.
A detailed explanation is provided below on how to cut gemstones using a Dremel.
Equipment
Cordless Dremel – with cutting attachments
Fine tip marker
Bench vice or clamp
Method
Draw the gemstone in the appropriate shape using a fine-tipped marker.
Clamp the gemstone to keep it steady and keep your fingers' tips away from the cutting wheel.
Before turning the Dremel tool on and selecting a comfortable speed, hold it firmly by the rubber grip.
It's best to have a slow start until you develop a feel for the tool because increasing the speed will result in deeper cuts that could damage the stone.
Drag the Dremel attachment's tip over the design to carve jewels along the marker line.
Top tip
Avoid leaving the tool in one place for too long, or you risk cutting deeper than you intended and creating a hole.
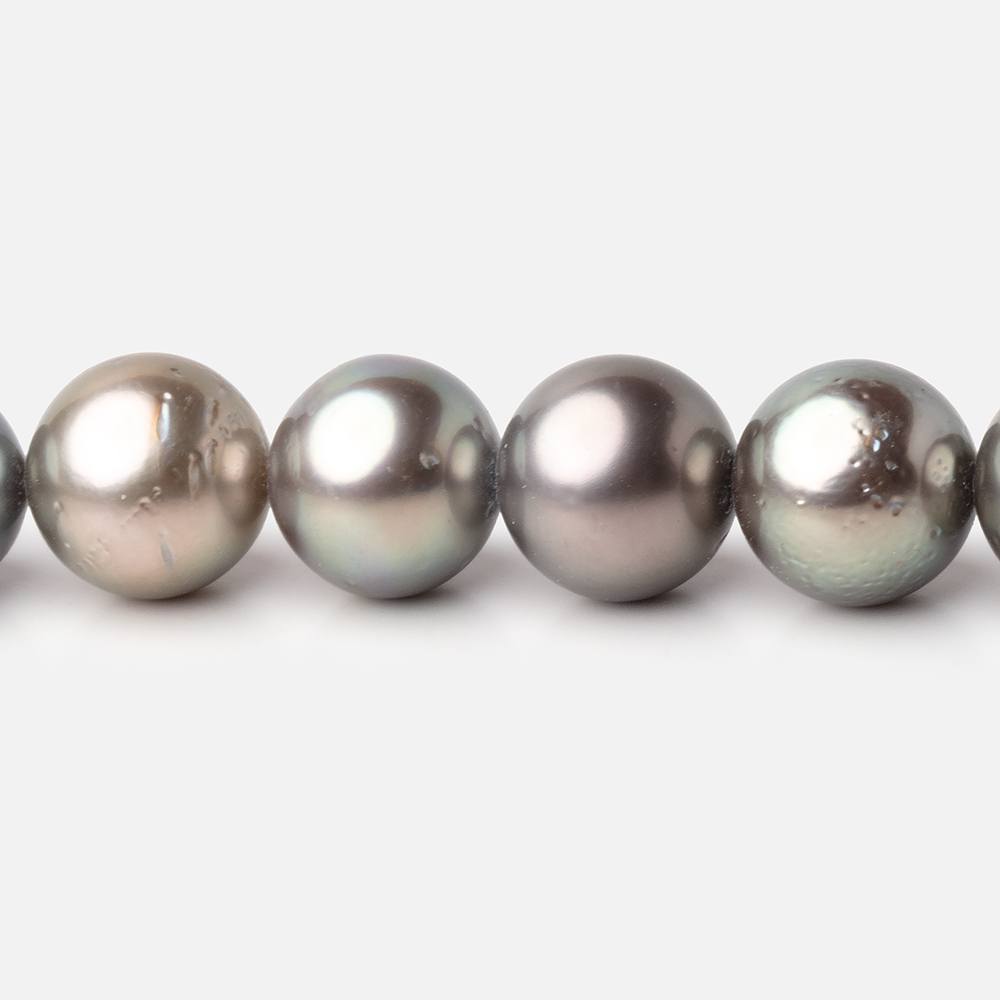
Whether you're shopping for yourself or someone else, our top collection of beads has something for everyone - check it out now!
How to Cut Gemstones with a Dremel
Ever wanted to see whether you could use a Dremel to cut gemstones? Despite what you may think, it's actually pretty simple. You don't need to buy pricey lapidary equipment, although it may take some time, depending on the hardness of your gemstone. It's unlikely that you'll want to do this constantly, but it is unquestionably possible if you have a particularly special stone.
Step 1: Get ready with the Dremel tools
Prepare some diamond bits and place them in your Dremel tool. Before you begin working with inserts, remember to turn off the Dremel tool. You need to place the diamond bit into the Dremel's end hole. You may secure it by slightly reversing the diamond bit and tightening the collet nut.
Step 2. Prepare the gems
Before working with it, you should understand the gemstone's eventual shape. Select the gemstone's eventual shape and make any necessary preparations to make it roughly resemble that shape.
When working with gemstones, remember that certain stones may have inclusions ( colored spots, hardness, cleavage). To prevent them from obstructing the procedure, you must eliminate them immediately.
By grinding it, you can prepare the gemstone's fundamental shape. Turn a 260-grit diamond-cutting lap as quickly as you can. After that, add water to chill the gem. Prepare wax and dop sticks for cutting evenly after cooling.
You will thus perform the ritual. Heat it to join the wax, dop stick, and the gem itself as well as possible. To prevent cracking and damage, take caution and don't keep the gem in the doping process for too long.
After completely bonding the gemstone, dop stick, and wax, create a diamond cutting lap and set a gemstone on it.
Step 3: Cutting of Gemstones
Cutting the gemstone is necessary once you've obtained the desired shape. It's time to utilize the drill, so switch it on and prepare it. Prefix the gem with clamps before processing. After all, it is hazardous and uncomfortable to hold a gemstone in your palm.
Start the machine at a reasonable speed to prevent harming the stone and its attachment. A 45-degree angle is perfect for cutting. Cut clean, straight lines in the skin. Accelerate the speed to obtain a smooth surface.
Make numerous passes if you believe the diamond will be difficult to cut. Make straight cuts in the gemstone to create straight walls. Start trimming the crown's principal faces after that.
Modify the angle and eliminate the prominent faces to achieve this. The edges might not be precise when trimming, but you can rectify this in Step 4. Then, get ready for Step 4. We no longer require diamond bits for polishing. While maintaining pressure on the shaft lock button, you must replace the bits.
Step 4: Grinding the Gemstone
The Dremel must be connected at the lowest grit while conducting the polishing operation. After turning on the device, grind a gemstone's whole surface using a grinding tip. It is necessary to sand the rough crashes to obtain equal angles.
During this process, change the grit level from the lowest to 800. Use finer bits to grind the surface uniformly and smoothly.
Polish the facets of the girdle with a piece of fabric before sanding it. The final step involves cutting the pavilion and polishing the girdle. Take extra care not to damage the faces' contours when cutting the pavilion.
Use a paste made of 8K diamond powder to polish the girdle. We save time and energy by polishing the girdle during the final processes. Once we have completed the last stage, you can polish the gem with a soft cloth to finalize the design.
Pealing gemstones with a Dremel tool is simple and comfortable, so pick the best tools possible to produce flawless gems.
Additional Tips To Remember When Working with Dremel
Select the appropriate Dremel for polishing rocks. The greatest speed alternatives are those with changeable speed because you want something with a low RPM. Single-speed and high-low models won't perform as well.
Assure proper ventilation while working. It would be ideal if you could work outside.
Ensure that your face mask can capture the minuscule rock dust particles produced. You'll need the appropriate filters and an N95-rated mask, ideally a respirator covering half of your face.
Keep the bit as flat to the rock surface as you can when sanding tight angles. It will enable you to sand these areas uniformly. For the greatest results, choosing the appropriate polishing wheel is crucial.
You need one that can tuck into the gemstone's surface nooks and crevices. A fair assortment will be available at most hardware stores, or you may order them online. Cerium oxide is an effective rock-polishing agent for the majority of gemstones. But before you apply it, you'll need to mix the powder with water.
Instead of going forward and backward as you work, make little circular motions with the polishing wheel. Likewise, set your Dremel at low speed to prevent flying powder or paste everywhere.
Explore the brilliance of gemstones - see our top collection today.
The Bottom Line
Gemstones are a gift from nature. The cutting that releases the stone's interior fire and produces the fascinating scintillation that makes a gem so appealing to the human eye is how man brings gems to the full extent of their potential.
Cutting the gemstones requires skill and talent. The process may seem challenging and tedious. However, the process becomes quite simple when paired with the right tools and skills. This article has focused on different methods that help give the gemstone its final shape. Follow them to cut and polish your gemstones.
Arun Yadav is a distinguished expert in the gemstone industry, with over 18 years of experience honed through his family's legacy in sourcing and manufacturing beads. As the CEO of Beads Of Cambay, Arun combines his deep knowledge of the bead market with innovative strategies to lead the company to new heights. Arun's background includes previous roles at UPS and a BA in Business and Economics from Stony Brook University, equipping him with a robust skill set in E-Commerce, B2B sales, online marketing, brand development, and more.
Based in Lawrenceville, Arun is a prolific writer and thought leader, sharing his insights and experiences through engaging content that resonates with both industry professionals and consumers. His work not only sets new standards in the gemstone market but also inspires excellence and innovation.
To learn more about Arun Yadav's expertise and stay updated on his latest contributions to the gemstone market, connect with him on LinkedIn, and Facebook. His innovative approach and dedication make him a pivotal figure in the ongoing evolution of the bead and gemstone industry.