Are you wanting to add a burst of color and elegance to your home? If so, you may want to consider exploring beaded home décor. Beads are an ideal option for transforming any room from ordinary to extraordinary. So, whether you are redecorating an entire room or simply looking for that extra special piece to serve as a room’s focal point, beaded décor is a perfect solution.
Beads
One of the many great qualities of beads is that they come in such a large variety of colors, shapes and sizes. This means they will coordinate well with anyone's sense of style. Whether you use round, square, big, small, shiny, or matte beads, there’s sure to be a bead to suit your taste.
Some great examples include:
Glass Beads. Glass beads are balls of art. Each one is unique and usually contains intricate designs and fun colors. Crystal beads also fall under the category of glass beads.
Acrylic Beads. Acrylic beads are made from a synthetic material, making them more durable and less expensive.
Wooden Beads. Wooden beads are also very durable and add a natural look and feel to your project.
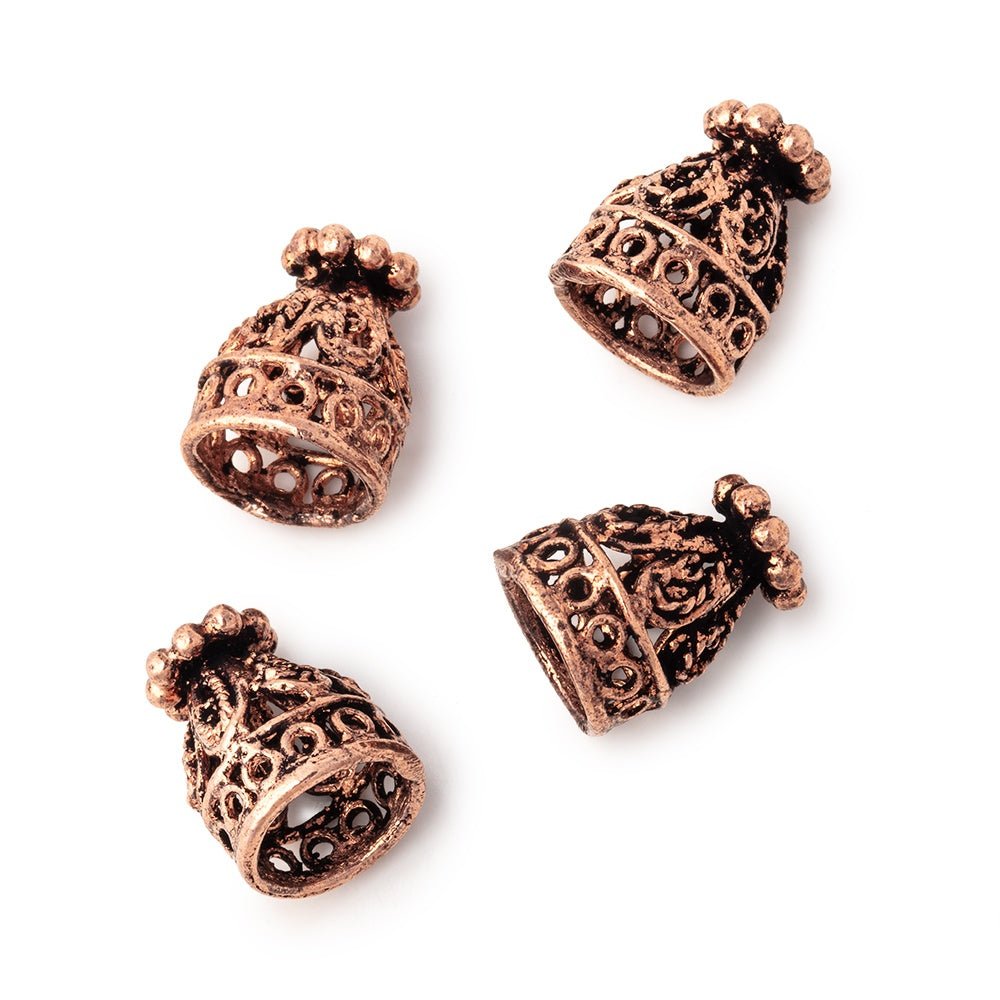
Metal Beads. Metal beads come in silver, gold, rose gold, bronze, brass, antiqued silver, copper, and many other colors.
Home Design Trends in 2018
Creating the perfect home décor can be difficult, and updating it can be just as challenging. Beads to the rescue! They provide an easy and affordable way to incorporate two of the upcoming decorating trends of 2018 into your home’s existing style.
Color. The most prominent new trend in 2018 is color. Color adds warmth to your home, while causing your room accents to really pop. Rich, vibrantly colored beads can give any room an immediate makeover.
Vintage Lighting. Vintage lighting fixtures are expected to make a comeback in 2018. A refurbished beaded chandelier would be the perfect fit for this trend. You can simply use the lighting fixtures that are already in your home or find an older one at an antique shop.
Here are some simple DIY projects that will add a touch of elegance to your home.
Beaded Chandeliers
The chandelier has been around since medieval times. It has always stood as a symbol of elegance and class, making it a perfect option for a “touch of elegance” DIY project. Whether placed in a dining room, living room, or bedroom, a beaded chandelier makes a beautiful statement.
Like beads, chandeliers come in an infinite variety of shapes and sizes, and there are multiple ways to design one. It is crucial your chandelier style, as well as the choice of beads, match your room’s overall design style. Here are a few examples of popular interior design styles and the chandeliers and beads that go well with each one.
Rustic
Rustic designs are taking over the home décor industry. Our favorite options for this style are wooden or metal beads.There are several choices available in these two materials, each of which can add to the rustic feel of your already rustic chandelier. You can even choose between different shades of wood and various types of metal.
Modern
Modern design is also a popular trend this year. Modern design means clean, straight lines and a very simplistic style. Metal and glass beads are excellent choices for contemporary designs, since these beads provide a light, clear, and sometimes shiny feel to enhance the modern motif.
Eclectic
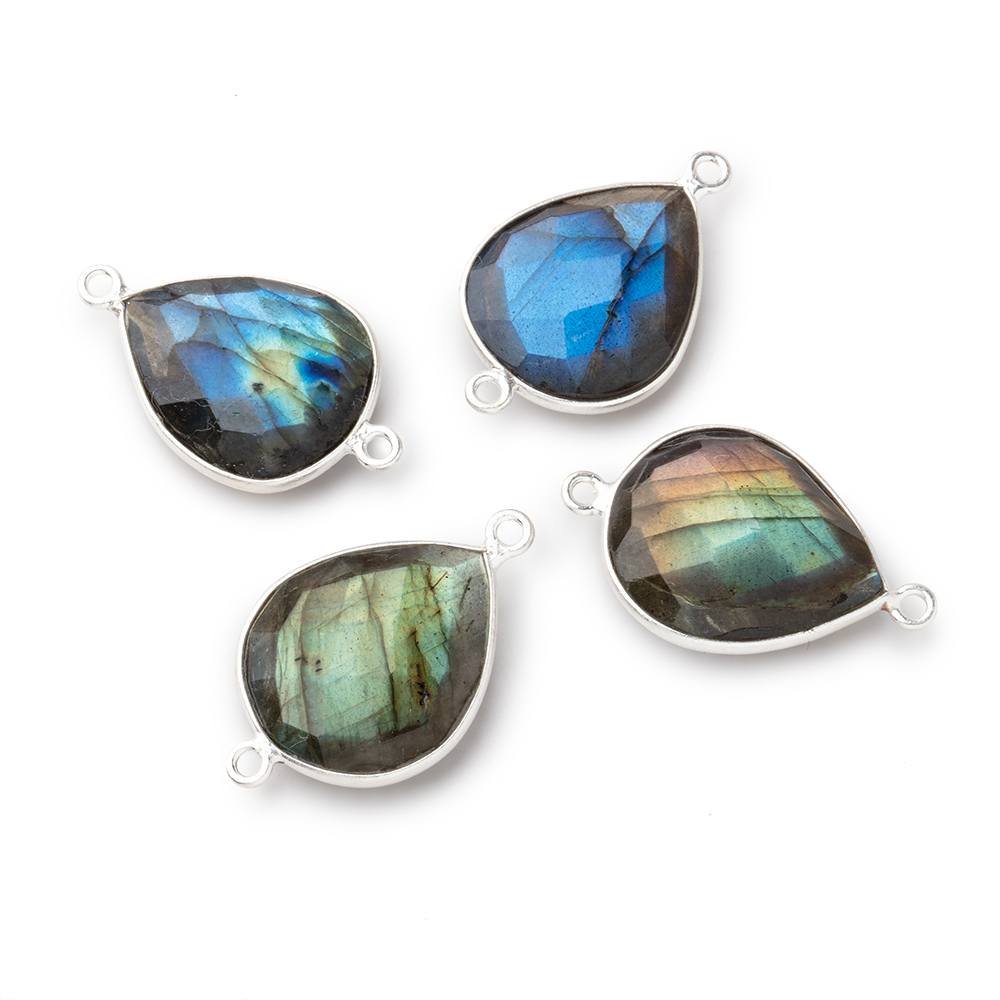
Eclectic design means breaking the rules. You can do whatever you want because it is all about representing you and your personality.Bold color and crazy prints are popular for this style, and therefore colored gemstone beads are a perfect choice. Choose bright and vibrant beads to make the most groundbreaking statement in your unique and stylish room.
Vintage
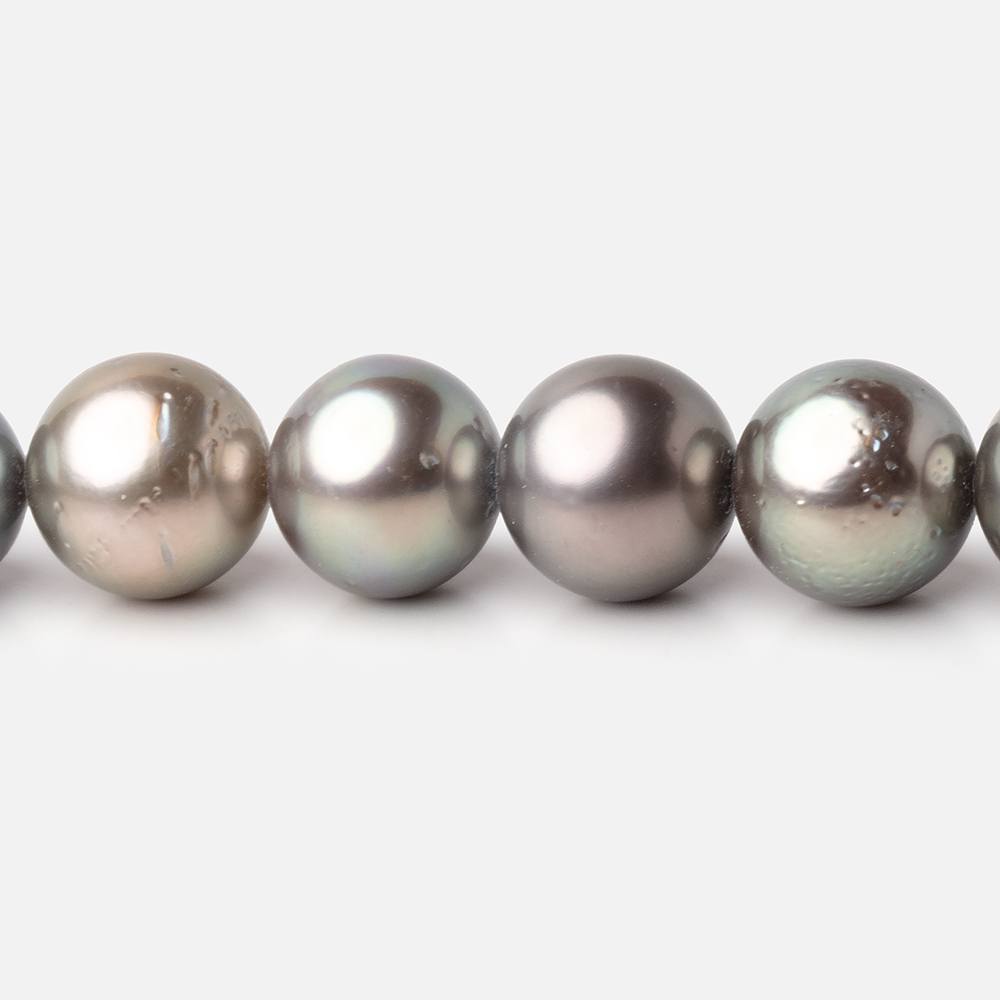
Vintage interior home design is the perfect opportunity to refurbish an old chandelier by adding strands of beads to it. For this look, you would most likely want to use glass, crystal, or antique metal beads. It can be the perfect piece to lend a charming, old-fashioned feel to your room.
Coastal
Most coastal designs contain an element of the sea, such as shells. However, this year, more contemporary ideas are also in vogue.For example, driftwood and stone give a coastal-themed room a refreshing atmosphere. It is the natural materials used in coastal designs that give it that relaxed and beachy feel. The best choice for this style would be glass or wooden beads.
How to Make a Beaded Chandelier
Once you have decided what type of design to focus on for your chandelier, you need to choose a construction method. One option would be to refurbish an old chandelier.
Polishing an old chandelier and adding strands of beads to the metal frame may be all that it needs. There are many techniques you can use for adding the beads to give it that elegant renaissance vibe.
The other method for making a beaded chandelier is to build one from scratch. While this is slightly more time-consuming and costly than refurbishing an old one, purchasing a new one would cost a lot more. Plus, this is a fun project with excellent results.
Here is just one way to make a beaded chandelier from scratch.
Materials:
- Three quilting hoops (one large, two small)
- Quilting thread or clear jewelry string
- Beads of your choice in different sizes (The amount depends on the size of the chandelier that you are making.)
- Paint or twine (to cover the hoops)
Take the inner section of the large quilting hoop, and take the inner section of one of the smaller quilting hoops – you will use the outer sections later.With a double strand of thread or string (knotted), tie a loop knot around one side of the smaller quilting hoop. String beads onto the thread in your desired pattern and length.Once you have your desired length, loop the end of the strand around the bigger hoop and tie it off with two knots, making sure it is secure. Be sure not to allow your strands to cross over each other.Repeat these steps all around the two hoops until the entire circumference is full, or to your desired look. (Make sure your strands do not cross over each other.) Cut away excess thread.Now take the inner section of the second small hoop. Repeat the above process, attaching the strings to the small hoop, stringing the beads and looping the strand around the bigger hoop, tying it off as before. The strands in this step should be shorter than the previous length.Then take the outer sections of the hoops and tighten them over the inner sections of the hoops. This will hide your string knots.If you prefer not to have metal hardware as part of your design, you can apply wood glue to the inner surfaces of the outer hoops before placing and tightening them. Once the glue dries, you can remove the metal hardware from each of the outer hoops.You can also wrap twine around the outer hoops, or paint them to add a pop of color.Finally, if you purchased a light kit, attach it to the chandelier. If not, then simply hang your chandelier and enjoy the elegance you have just created.Whether starting from scratch or refurbishing a vintage chandelier, there are many tutorials online for you to follow. These beautifully beaded chandeliers are simple to make, and they also make a great statement piece.
Beaded Table Runners
Another great option for bringing a touch of elegance to your home is a beaded table runner. Table runners have always added grace and class to kitchens and dining rooms. They can even be used in the living room on end tables, and in the bedroom on dressers. They can be displayed permanently or only on special occasions, such as birthdays and at holidays.
Table runners come in many sizes. Some people prefer to use short ones positioned at the center of their tables, while others like long ones that hang off the table’s edges. Either way, adding beads to a table runner is a stylish way to add a hint of sophistication to your table.
For this project, purchase a table runner (any shape or size). Beads can be attached with glue, or they can be sewn into place for a sturdier and more long-lasting outcome.
For most runners, the smaller beads work best. Not only do they give the runner a delicate and professionally tailored appearance, but they do not interfere with the placement of objects, such as place settings.
Of course, larger beads could be added to each end of the runner if it extends off the edge of the table. This will also help to weight it down and prevent slippage.
Beaded Curtain Tiebacks
Curtains are a staple in everyone’s home, but what do you tie them back with when you want to let some natural light inside? Most curtains use a simple piece of matching fabric, but here’s another option that adds sparkle, charm, color, or a rustic look to your windows: beaded curtain tiebacks.
Beaded tiebacks are simple, inexpensive, and look terrific in any room. The only supplies you’ll need are pliers, wire cutters, bendable wire, four rings, and your choice of beads in various sizes.
Lay out the beads in the pattern you want for your tieback. It can be more interesting to use a combination of small, medium, and large beads throughout the pattern. This will give it a third dimension as well.
Next, gather your curtains to the side of the window frame and determine what length of wire you will need. Cut the wire slightly longer than the desired length, so you have enough wire for fastening.
Using one end of the wire, make a loop around one of the rings. Then wrap the wire around itself multiple times to secure it. When you are finished, use your pliers to tuck in the sharp end.
Now string your beads onto the wire. Once you’ve placed all the beads, loop the free end of the wire around the other ring and secure it by looping the wire through it and then wrapping the wire around itself multiple times and tucking in the sharp edge, as before.
Repeat these steps to make the second tieback. Attach a hook to the wall or window frame on either side of the curtain, and voilà, you have a beautiful, stylish beaded curtain tieback.
Beaded Curtains
Beaded curtains add an exotic feel to any room and will make such a beautiful sound as you sashay your way through them. Treat your senses to the shimmering loveliness of a beaded room divider or doorway.
The sky’s the limit when it comes to selecting the color, size, and shape of the beads you will use. This project can give you hours of fun in the design stage alone.
You can create a dramatic effect by using different sizes and styles of beads in all the same color. A rainbow effect could even be made with the careful planning of your color scheme from red all the way to violet. Another idea is to mix and match metal with wooden beads for a vintage feel.
The easiest way to make a beaded curtain is to string long strands of beads on nylon string or fishing wire, and then attach them to a round spring-type curtain rod.
Final Thoughts
Crafts are a fun and economical way to add elegance to your home, and there is nothing quite as satisfying as making a home accent yourself. There are many more things you can do to add charm to your home with beads, such as coasters, candle holders, lamp shades, mirrors, and table decorations.
The effort is well worth it. Whether it is the smallest accent, or a grander gesture, beads and other details can add a hint of chic and showcase your personality in your decorating style.