No matter how old you are, nothing tells mom “I love you” quite as well as a homemade gift for Mother’s Day. Once you’ve passed a certain age, though, a handmade crayon drawing might not be quite the gift she has in mind.
If you would like to create something special, which will let your mom know just how much she means to you, handmade jewelry is always a great option. Plus, a custom piece of jewelry is something she will be proud to wear and show off.
Gemstone beaded necklaces make lovely gifts for mom, and they are easier to make than you may think. Even if you are not a professional jewelry designer or someone who is particularly good at crafts, you can make a necklace any mother would be sure to love. Ready to get started? Let’s go!
Gather Your Supplies
This necklace is basically a grown-up version of the necklaces you probably made by stringing together plastic beads as a child. This project is a bit more refined, though, and will allow you to create a necklace your mom will love wearing and showing off. Plus, it will withstand regular wear and won’t completely fall apart, if it ever does break.
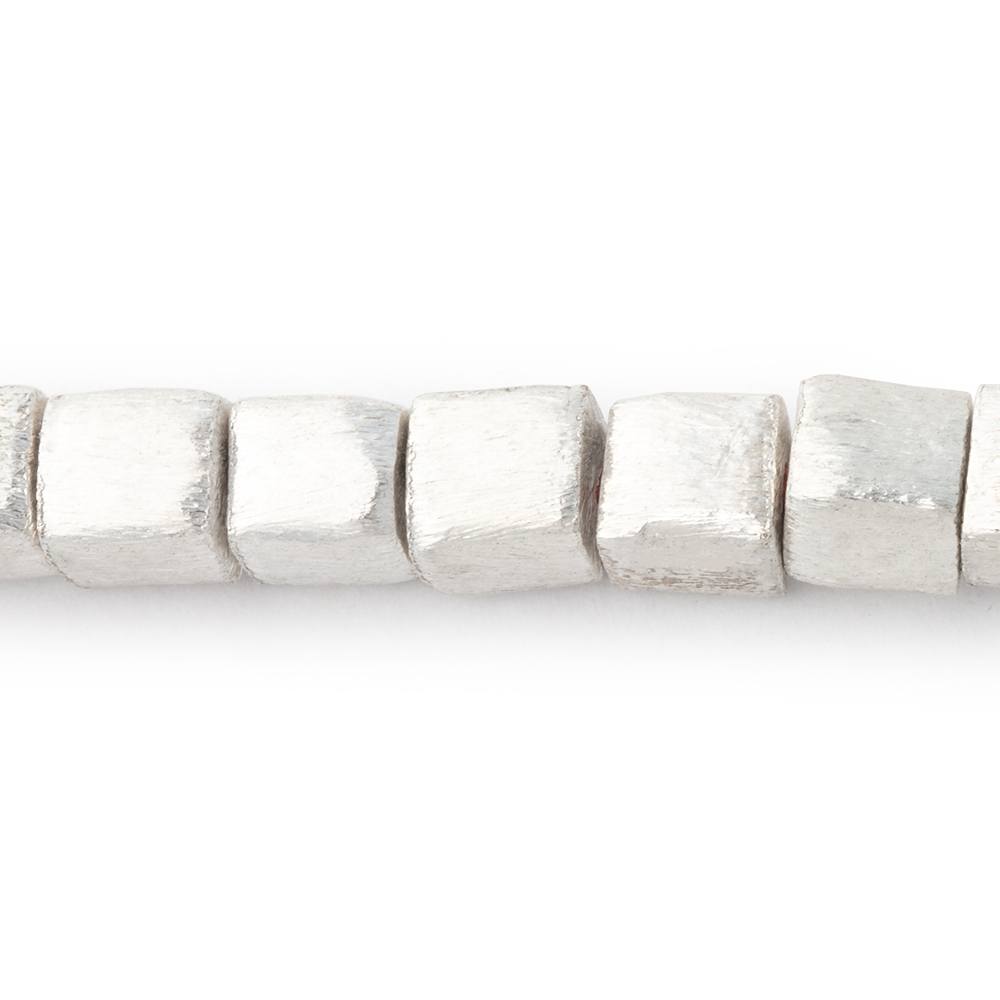
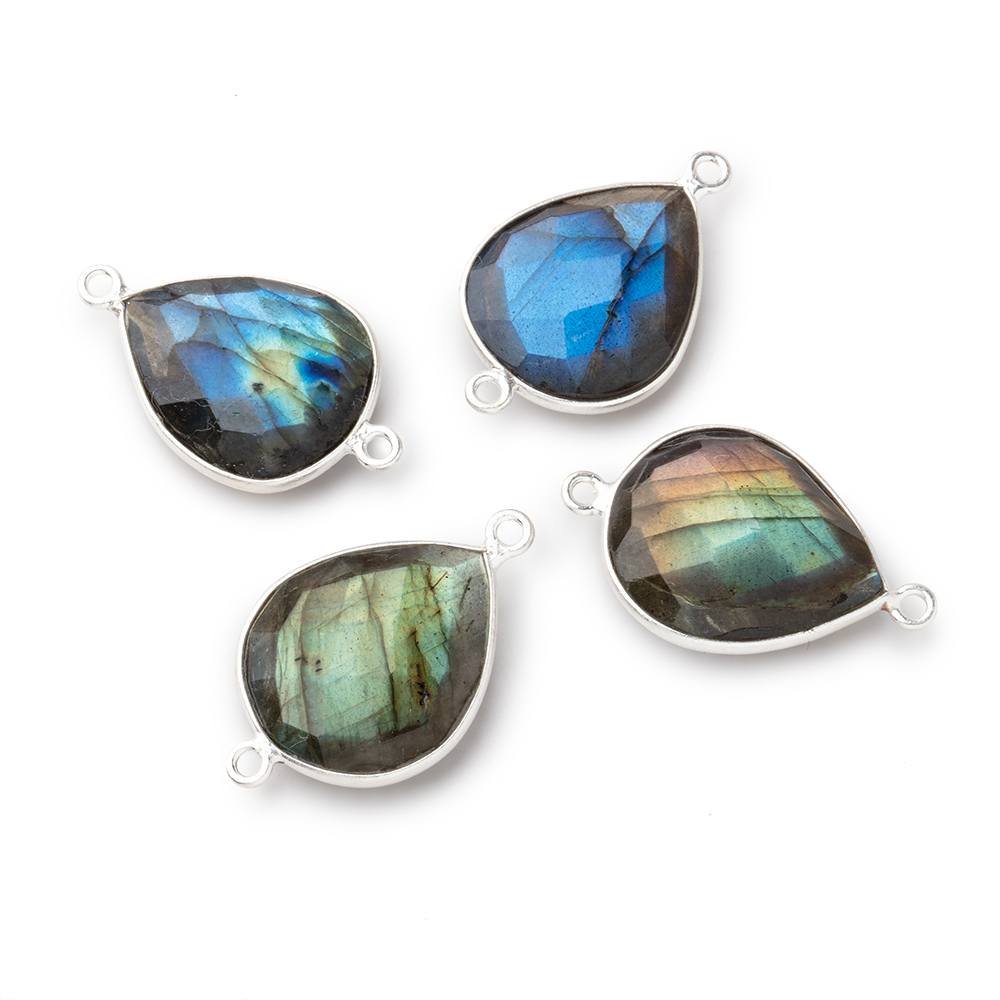
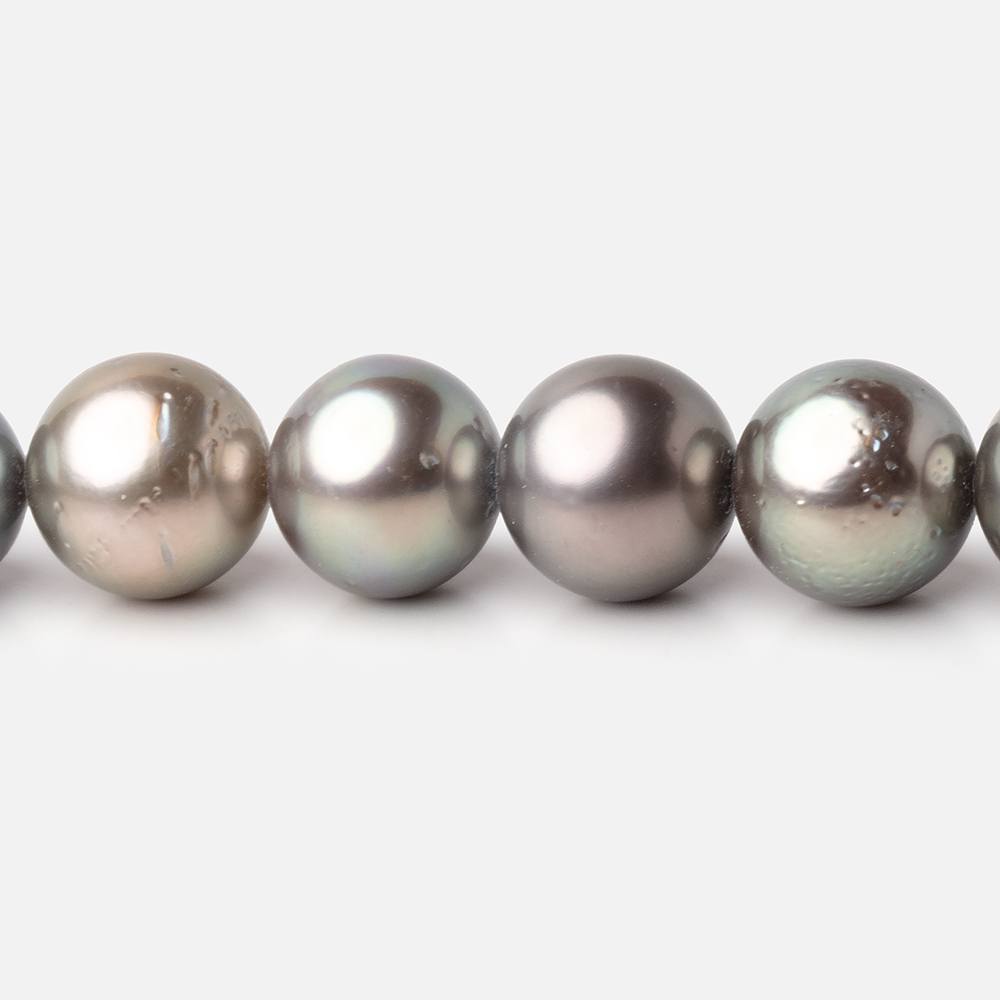
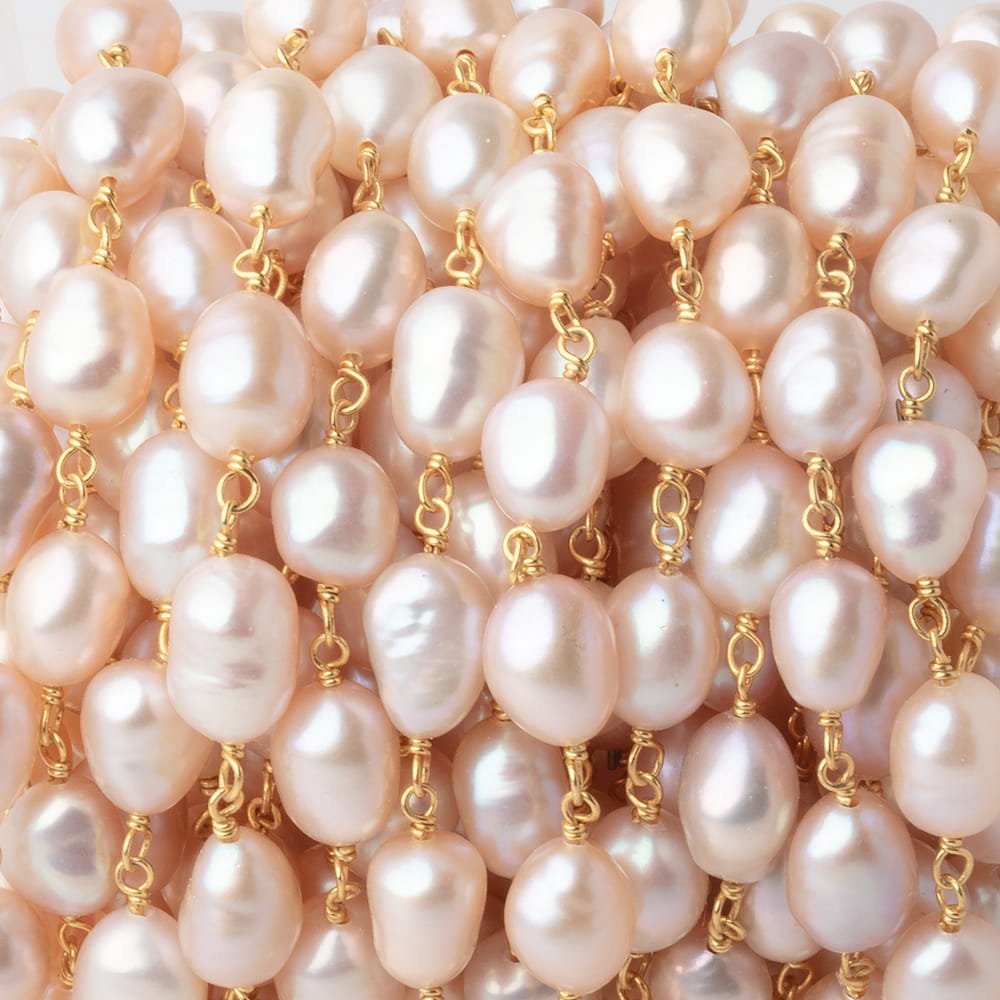
For this necklace, you will need gemstone beads, beading cord, a beading needle, a necklace clasp and tweezers. Almost any type of gemstone bead will work for this project, so choose ones in your mom’s favorite color, her birthstone or even your birthstone. When it comes to shape, perfectly round stones work well for creating a uniform appearance. You could also use some of the more unique beads for jewelry making to create a more one-of-a-kind piece that strays away from tradition.
When shopping for a beading cord, you will want either silk or nylon. Nylon is the easiest option for beginners. If you are working with light-colored beads, use a light cord. Use a dark cord with dark beads. Make sure the cord you choose is thin enough to fit through your beads but not so thin it will break easily.
Start Beading
Cut a long length of cord (longer than the final necklace length), and thread your needle. Attach one half of the clasp to the end of the thread securely, then thread your first bead over the needle and onto the thread.
This is the part where this necklace becomes different from the ones you made as a child. While you probably just strung beads on one right after the other when you are younger, to make this beaded necklace, you need to make knots in between each bead. This keeps the beads from rubbing against each other and prevents damage. It also ensures the beads won’t all fly off if the strand ever breaks.
Use your needle to make a simple knot. Before pulling it tight, though, grab the thread at the top of the bead with your tweezers and pull through. When you begin to tighten the knot, it should start closing in on the tweezers. Use your fingernail to carefully slip it off the tweezers and put it as close to the bead as possible.
Continue this process of adding a bead then trying a knot until the necklace reaches the desired length.
Finish
After you add the very last bead, do not tie a knot. Instead, attach the other half of the clasp as close to the bead as possible. Once you’ve tied a secure knot and trimmed off any excess cord, your mom’s new necklace is complete.
Customization Options
While your mom is sure to love a necklace using this technique, you can make it even more special by customizing it just for her. You can add a larger focal bead in the center or a pendant with a meaningful shape or design.
Instead of using the same gemstone for the entire necklace, consider mixing-and-matching different stones to create a more colorful piece. You could even use stones which correspond with all of your siblings’ birth dates. There are all sorts of creative ways to customize this project and make it perfect for your mother.
Conclusion
Making grown-up beaded necklaces takes a bit more time than simply stringing beads on a cord, but the extra effort is well worth it. With the steps listed above, you can create a beautiful necklace your mom will be proud to show off on Mother’s Day and beyond.