While anyone can purchase flawless gemstone jewelry at their local jewelry store, nothing can compare to the originality and imaginative qualities of handmade gemstone jewelry—not to mention the overwhelming sense of accomplishment felt by its maker.
Does making your own gemstone jewelry by hand sound appealing? This comprehensive beginner’s guide to wire wrapping can help you start crafting your own beautiful gemstone jewelry in no time—for as little as $30.
For those who aspire to make their own jewelry, but who do not have access to the traditional tools used to do so, wire wrapping provides a seamless, easy, and fun way to hand make gemstone jewelry. Using simple or elaborate frameworks—such as copper, silver, gold, and other materials—wire wrapping allows you to set precious and semi-precious gemstones to create unique pieces of handmade jewelry.
Thanks to websites such as Etsy, more sellers than ever before are able to get their hand-crafted products to customers around the world—causing the popularity of wire wrapping to skyrocket. After all, wire wrapping is so affordable and easy to learn that it is fast becoming one of the most fashionable techniques for private artisans and jewelry-making entrepreneurs. However, don’t let the recent surge in popularity fool you. Wire wrapping is by no means just the next fashion fad.
Wire wrapping—which is one of the oldest handmade jewelry-making techniques—can be traced back thousands of years. The reason for this is not hard to decipher. Wire wrapping is a technique that is simple to learn, within many people’s means, and manageable. To get started, all that you need is a coil of wire and two pairs of pliers. You will use one pair of pliers for cutting, while the other pair will be used for bending. With these three easily accessible tools, you can begin making bracelets, necklaces, pendants, headpieces, and many more unique handmade items.
Types of Wire and Other Needed Supplies
Now that you know the unique history of wire wrapping, are you ready to start making your own gemstone jewelry? Unlike many new hobbies or crafts, wire wrapping requires very few tools and supplies—and it definitely doesn’t require a hefty budget. In fact, if you wanted to get started right away, you could make your first piece of handmade gemstone jewelry for as little as $30—all you need is pliers, wire, and the beads or gemstones of your choice.
Wire
Wire wrapping affords its creators with many different types of acceptable and compatible wires to create their own handmade gemstone jewelry. However, just because there are many options available does not make selecting the type of wire to use easier. In fact, many consider selecting the type of wire the most complex phase of wire wrapping. It is crucial to understand the varying levels of materials, gauges, and strengths, and to consider each when you begin shopping for your wire.
Materials
There are many different kinds of materials that you can use for wire wrapping. These various materials can differ in color, price, durability, composition, and many other attributes. The most common wire-wrapping material, and the least expensive, is copper—which may be plated with silver or gold, or coated with one of many colors (black, blue, green, red, purple, and more).
Other standard wire-wrapping materials include gold, silver, brass, nickel, and steel, to name a few. Each material provides a different wire-wrapping experience for the creator, and gives a different characteristic to the jewelry being crafted. For example, brass is typically one of the more challenging materials to work with, as it is very springy.
Gauges
Although most wires are round, they can come in other varying shapes and sizes, such as square. While round wire is smooth and cylindrical—the type of wire you are most accustomed to seeing—square wire has edges and corners. The term “gauge” refers to the thickness of the wire and, as you can infer, each gauge has different attributes and qualities. A very thick wire will be difficult to bend, but it will hold its shape tremendously.
On the opposite end of the spectrum, the thinnest wires are extremely pliable, but they do not hold their shape very well. While each of these has their own unique benefits, a wire with medium thickness, or a gauge that falls in between very thick and too thin, is the most desirable type of wire to work with.
When first starting wire wrapping, it is recommended to purchase a wide range of gauges, so that you can determine which you are most comfortable working with. Below is a list of gauge ranges, as well as a brief description of each, in descending order from thick to thinner.
16-18 Gauge:
Thick and difficult to bend, but holds shape extremely well. Preferable for wire sculpting projects or for creating structurally strong frameworks for pendants, bracelets, and other types of jewelry that require similar framework.
20-22 Gauge:
Medium thickness that is suitable for most jewelry-making applications. Can be used for embellishments or to create stable frameworks.
24-26 Gauge:
Thin and extremely pliable, but does not hold shape very well. Best suited for fine detailing and embellishments.
If you are interesting in learning more about different types of gauge wires, or would like a more in-depth list of which type of gauge wire is best suited for your wire wrapping project, click here.
Strength
Much like wire thickness, there are also varying levels of strength associated with different wires—regardless of the main material of the wire. Typically, strength level is broken down into three main levels:
Hard:
Obviously, this is the most difficult to bend and shape. However, much like a wire that is very thick, hard wire holds its shape impeccably.
Half-Hard:
This is the most commonly used wire strength, and the best option for those just beginning to practice the wire wrapping technique. It is decently malleable, and does an above-average job at holding its shape—though it does not hold quite as well as hard wire.
Dead-Soft
Wires that fall into this category are extremely pliable, but in general do not hold their shape well—even at a medium gauge.
Pliers
To effectively wrap your wire, you will need two pairs of pliers—which will be used simultaneously. The first pair of pliers will be used for cutting, while the second pair will be used for wrapping the wire. There are two main types of pliers that you should consider for purchase when beginning wire wrapping. While both pairs are similarly priced—totaling between $10 and $15 each—they do not function exactly the same.
Needle-nose pliers have a comfortable grip and come to a very small point. Using these pliers you can perform tasks that you are unable to perform by yourself. This may include pulling wires through loops that you are incapable of reaching with your fingers alone, or exerting the necessary amount of force.
Side-cutting pliers are similarly as small as the needle-nose pliers and provide the same comfortable grip. The unique advantage of using side-cutting pliers lies in their ability to easily and cleanly cut through wire. The box joint construction of these pliers keeps their jaws aligned, allowing for a neatly cut wire. Side-cutting pliers are also extremely durable and strong. In fact, these pliers have the ability to cut through steel wire.
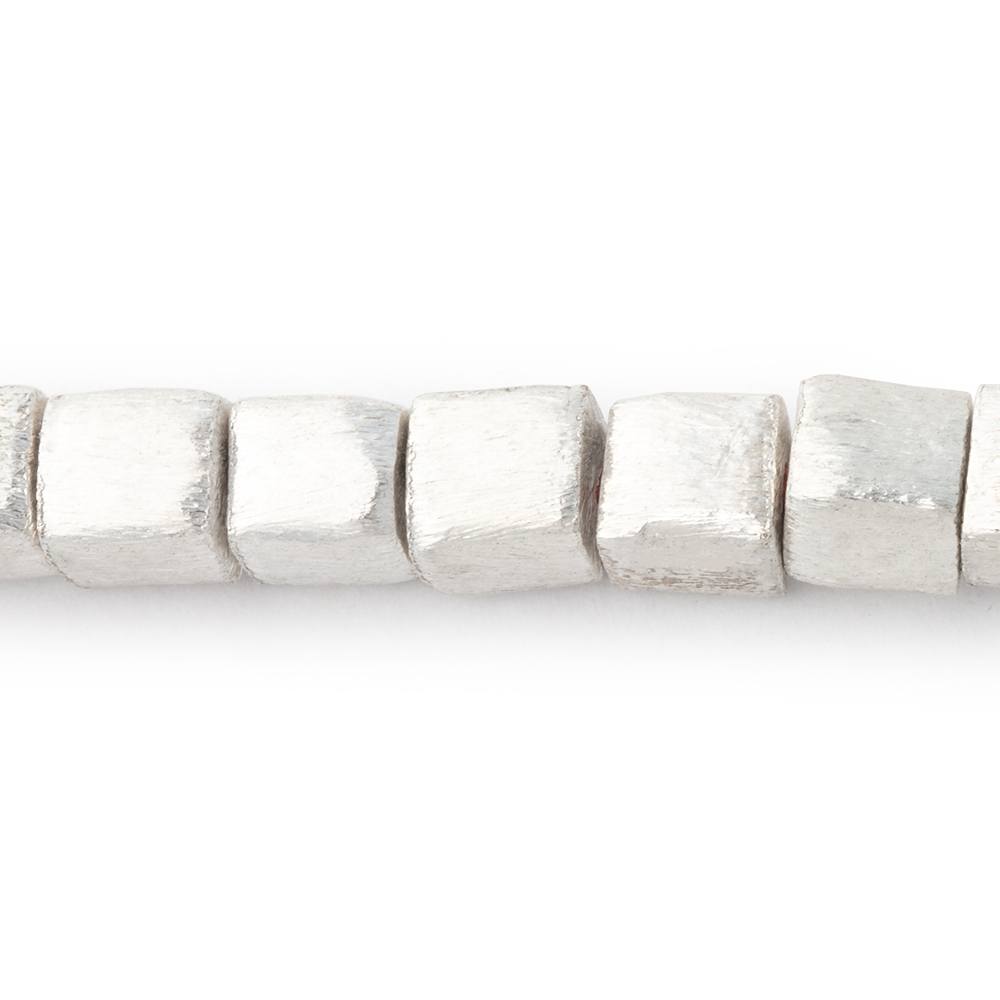
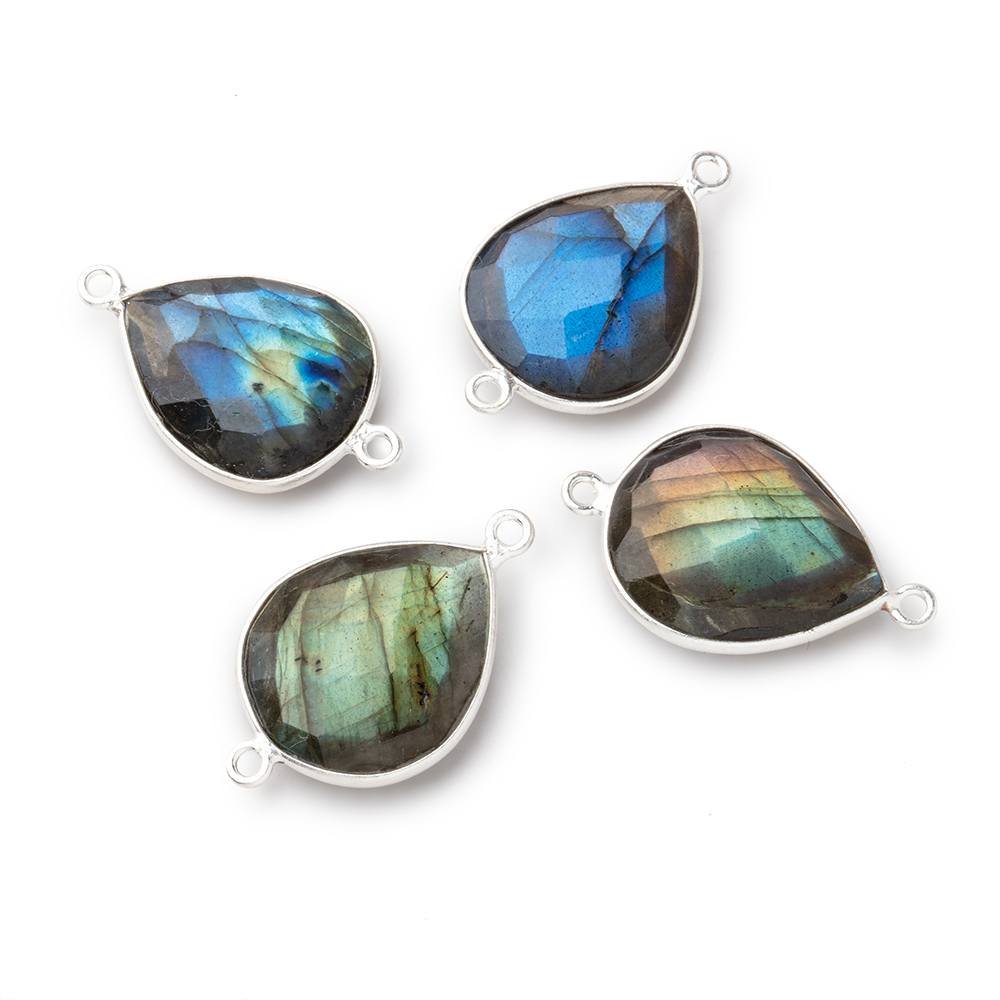
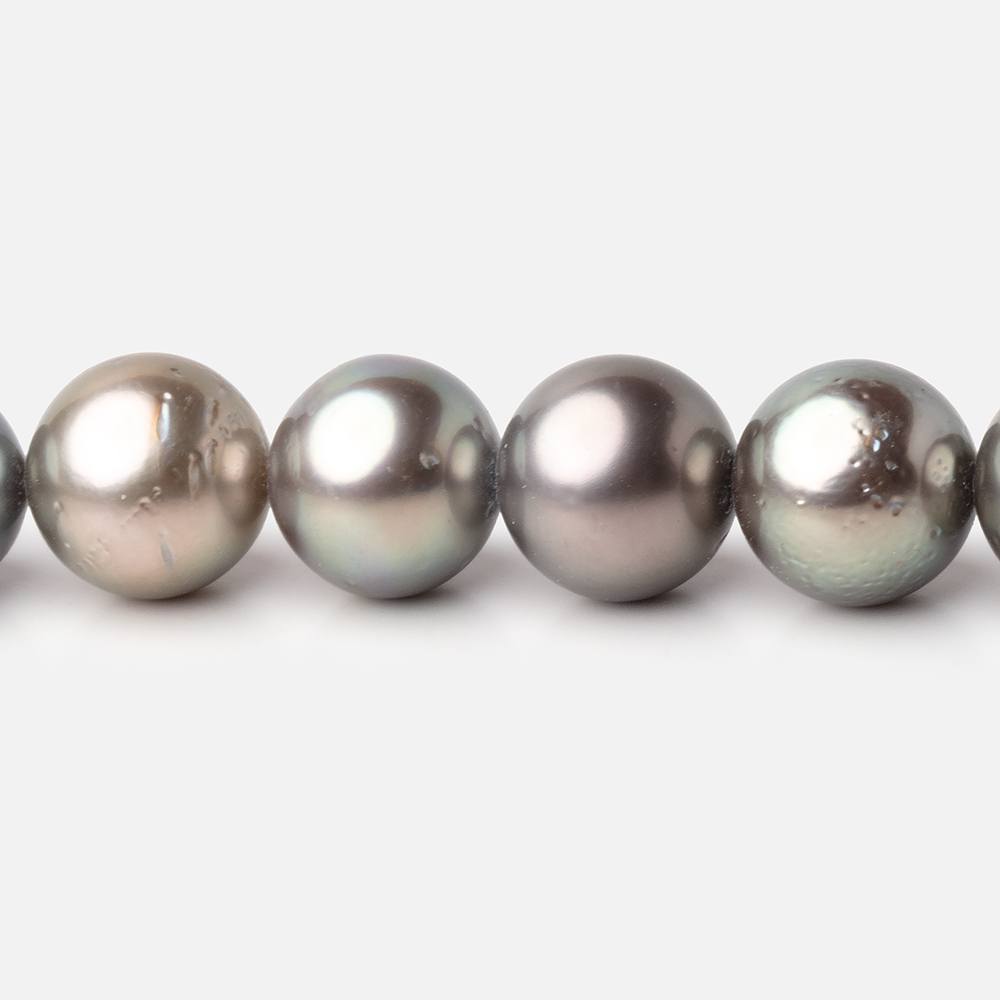
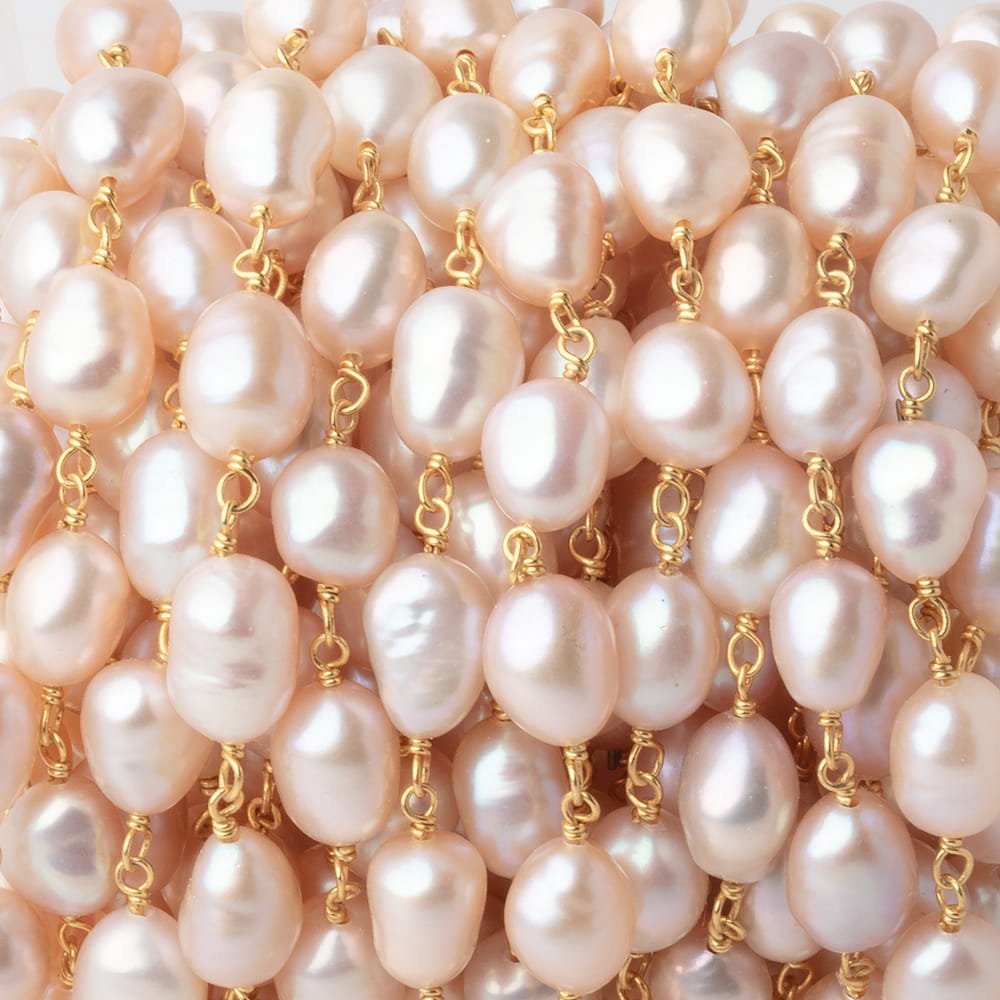
Beads and Gemstones
At this point you should be well versed on the pros and cons of each type of wire, and the benefits of different types of pliers. Now, all you need is something to wrap. Beads and gemstones are both acceptable centerpieces for your framework. Many stores sell beads in bulk at fairly cheap prices—around $5 for a large bag. Beads are large enough to wrap and, depending on the nature of your project, many not necessarily need to match. They make for a simpler, yet still beautiful, centerpiece. On the other hand, gemstones are more pricey, but also more attractive to buyers.
Optional Extras
Jewelry Hammer and Anvil:
This set can be used to flatten your wire, which can provide a functional purpose, or simply create a different look or texture.
Sandpaper
Often, especially for those just starting out, you will finish your piece and find a few loose ends, which can potentially scratch the wearer. One option is to simply tuck these loose ends out of the way; however, for a more polished and refined look, use sandpaper to smooth out any loose ends.
Liver of Sulfur
This chemical compound is able to react with the metal and create a tarnished look. By altering the texture, you can make your jewelry pieces look vintage and antiquated—two very popular styles. The best part is that this process can be completed in just a few minutes.
Most, if not all, of the above-mentioned supplies and tools can be found at your local jewelry store or online. As previously noted, the cost of supplies and beads or stones can greatly vary, depending on need, preference, and utility.
For beginners, it is recommended that you use copper wire for your first few pieces. It is the least expensive and more suitable for the learning curve of the wire wrapping technique. As you master the skill, you may decide to invest in more expensive supplies and stones.
Maintaining Structural Integrity
One of the most attractive qualities of the wire wrapping technique is its versatility. Simply put, there aren’t many things that you can’t wrap. The complexity of wire wrapping is different for each project, but there is one guideline that everyone should follow—whether you are an expert or just starting out.
Whether wrapping a bead or stone, it is pertinent to ensure that all loops are closed—preventing any beads or stones from becoming dislodged or unattached. While maintaining the structural integrity is a fundamental rule of thumb that all creators should follow, it can lead to a piece that is as aesthetic as it is functional. Some of the most beautiful wire-wrapped jewelry became such simply by tying up the loose ends.
Now you know all the basics of the wire wrapping technique, from its history, to needed tools and equipment, to the technique’s most fundamental rule of thumb. It’s time for you to gather your supplies and take on your first wire wrapping project. As with any artisan skill, this technique will take time to learn and master. Don’t let a few difficult projects stand in your way of perfecting this fun, affordable, and beautiful form of wearable art. Practice makes perfect, and once you get the hang of the technique, the ability to craft unique, handmade gemstone jewelry will last you a lifetime.