For hundreds of years, professional jewelers have used all sorts of different settings to hold gemstones in place when making jewelry. Recently, however, jewelry made using a technique known as wire wrapping has become quite popular. Rather than using a setting, the gemstones used in wire-wrapped pieces are secured in place using thin wire. One of the great things about this technique is that it’s very simple to learn. It’s also a very affordable option as it only requires a few inexpensive tools and materials.
Gemstones of all types can be wrapped in wire using a variety of techniques. For this blog post, though, we are going to be focusing on wire wrapping pearls. If you love the look of pearls but want a piece that’s a bit more unique than the traditional strand, wire wrapping is a perfect solution. Keep reading to discover how to wire wrap pearls!
Gather Your Supplies
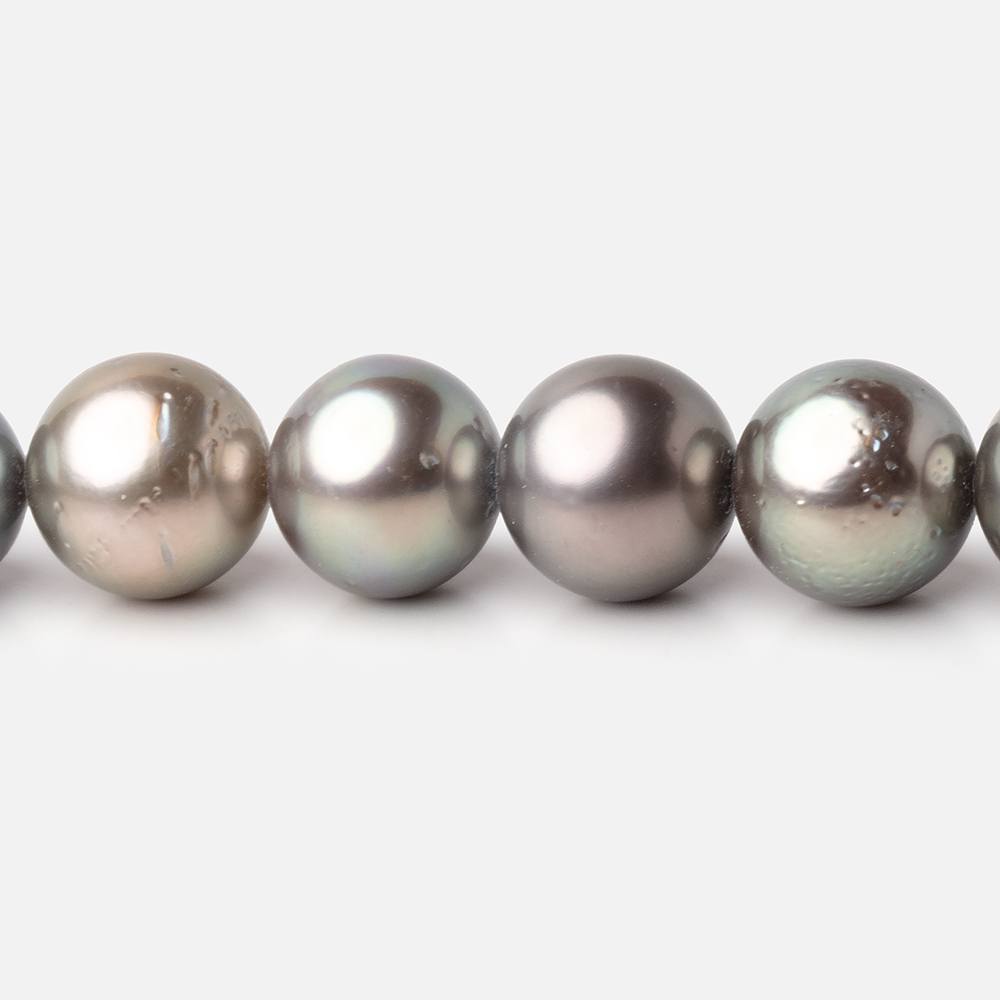
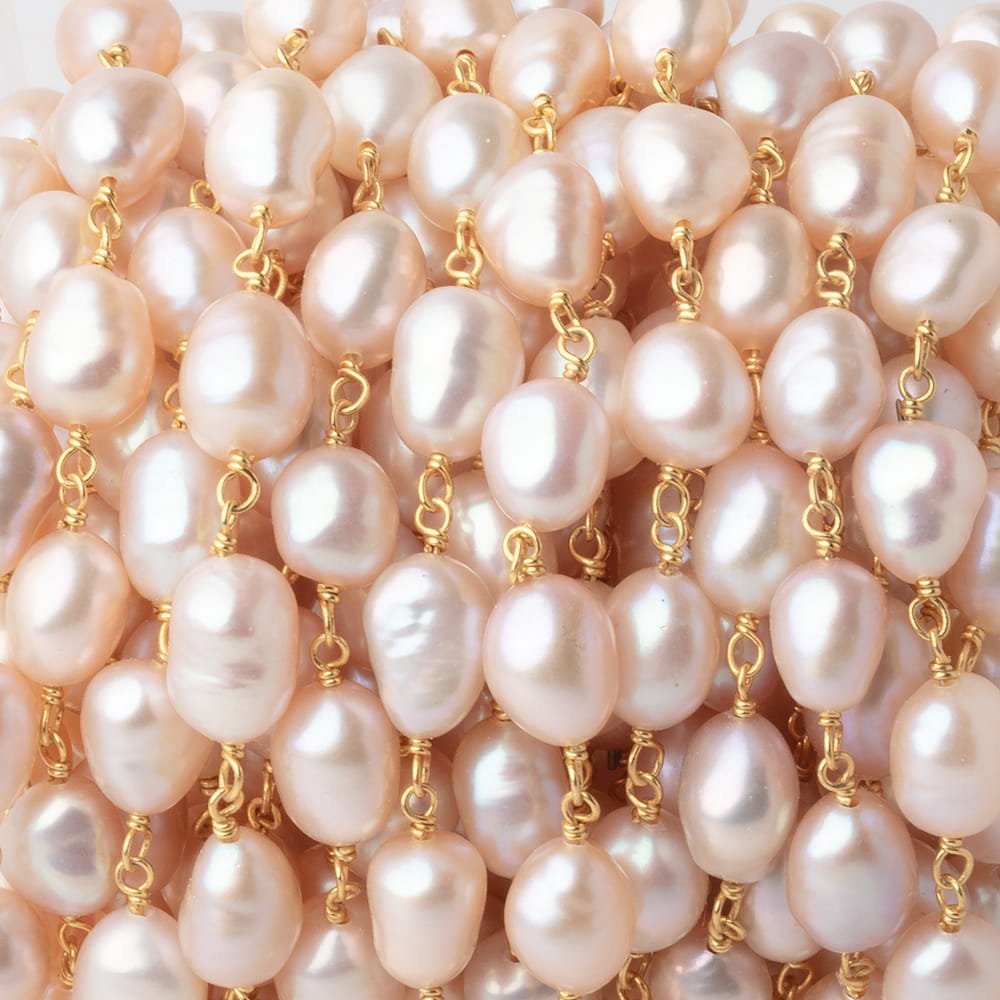
To get started, you will need a few basic supplies. You will, of course, need a pearl. While you can use regular pearls for this project, pearl beads are a better option. Large hole freshwater pearls work especially well. For your first project, a freshwater pearl with an irregular shape will likely be easier to work with than a perfectly spherical pearl. You’ll also need some wire (20-gauge works well), a pair of needle-nose pliers and a pair of wire cutters.
Prepare Your Wire
Preparing your wire can be a bit tricky. You need to cut off a piece that’s long enough for all of the wrapping you plan to do, but you don’t want it to be so long that the excess gets in your way. If you are creating a relatively simple piece using a single pearl, roughly 12 inches of wire should be sufficient, though.
Make a small loop at one end of the wire. This will serve as the bail, so make sure it’s large enough for a chain to slip through. Wrap the short end of the wire around the longer wire below the loop to secure and then trim the excess material off the short end. Now, you’re ready to add your pearl.
Add Your Pearl and Wrap
Slide your pearl onto the long end of the wire. If you are going for a really simple look, you can use your pliers to create a coil of wire up against the bottom of the pearl to hold it in place. Trim off the excess and you have a pearl pendant that’s ready to wear.
If you want to get a bit fancier, though, begin carefully wrapping the wire around the pearl. You should keep the pearl close to the loop, but you need to leave a little bit of space to wrap the end of the wire around when you are finished. Wrap the wire tightly around the pearl a few times. There is no “wrong” way to do this. Just do what looks right to you!
When you’re satisfied, work the wire back up toward the top of the pearl. You may need to make an extra wrap or two. When you reach the top of the pearl, use your pliers to wrap the remaining wire around the exposed bit between the bail and the top of the pearl. Be sure to pull tight! When you’re finished, snip off the excess wire.
Additional Tips
When making any type of wire wrapped jewelry, you need to pull the wire as tight as possible. Doing this is much easier with pliers than with your fingers. Take care not to scratch your pearl, though. If you find that you are scratching your pearls or your wire, you may want to consider investing in a pair of pliers with nylon tips rather than metal.
Feel free to experiment with different designs and patterns. You can find all sorts of inspiration on the internet, or you can let your imagination be your guide. One of the fun things about wire wrapping is that it doesn’t have to be perfect and there is no “wrong” way to do it. As long as the wire keeps the pearl or gemstone secure, you’re doing it right!
Conclusion
Wire wrapping pearls may seem intimidating, but once you get started, it’s pretty simple. Get started today and you’ll be creating beautiful one-of-a-kind pieces before you know it!